Mapping a Facility
See also
See detailed documentation on mapping a facility for more information.
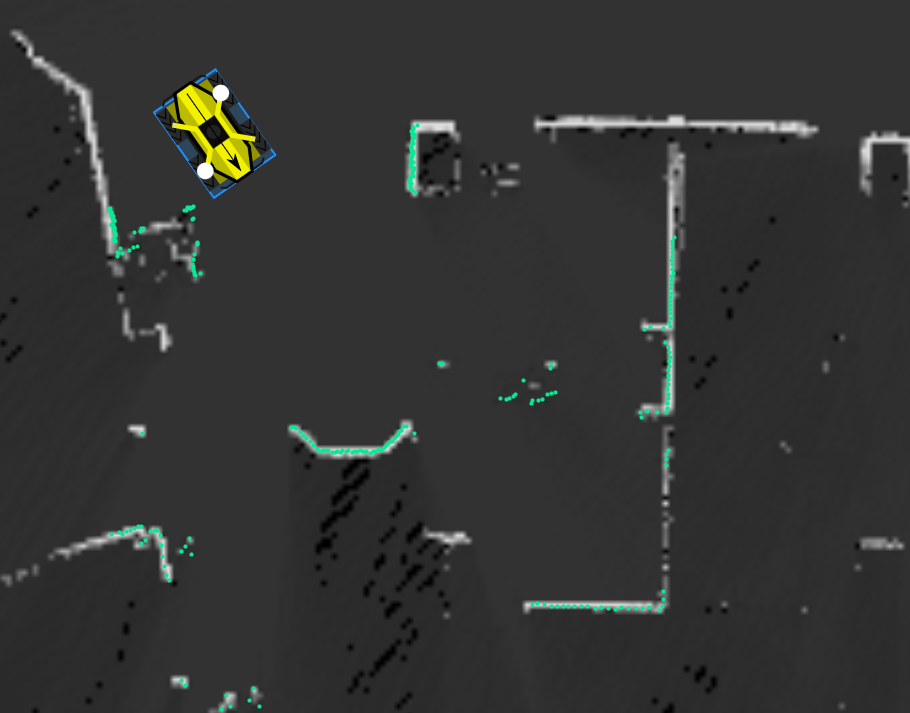
A map is a digital representation of the facility around which your robot needs to navigate. Maps are on a grid and X and Y axes are used to define locations on that grid. The point at which a map recording begins is located on the grid at 0m, 0m. Maps are always measured in meters.
Maps are how robots become aware of traffic rules and key waypoints within a facility. A robot determines which traffic rules to apply based on its position estimate—this is not a safety rated system. If a robot is in close proximity to an area where a drift in position may cause a hazard, place physical barriers that the safety system is capable of seeing.
Robots require an accurate map of a facility in order to plan the best routes for executing workflows. Map creation is done using your robot to record the its surroundings while it drives around the facility.
Making a Map
Note
When you first receive your robot with IndoorNav it may have a map of Clearpath’s building and testing facility already saved on it. This map may be discarded.
To create a new map:
Open the Web GUI.
Determine where map recording will begin and navigate the robot to that position. Carefully select the starting position and alignment. This point may be important in the future if updating a map or remapping. A point that is central is recommended, but not required. Note that the orientation of robot in relation to the facility when beginning to record the map affects the orientation of the map as it appears. When recording map data first beings, the direction in which the front of the robot is facing will be the right side (east) of the map.
Select the Facility tab.
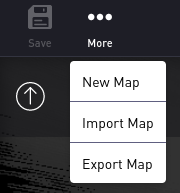
From the upper toolbar, select New Map. The existing map (if any) will disappear and be replaced with a new, blank map. To download a copy of the current map click Export Map. To upload an existing map, e.g. one saved from another robot, click Import Map.
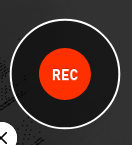
Select REC to begin recording the map. Select Pause at any time to pause map data recording.
Drive the robot through the facility manually, either using the web GUI or the game controller. You will see light grey lines appear, indicating where walls and other obstacles are. You should map all locations where the robot is expected to navigate autonomously.
To save the changes to the map, select Save Map. To cancel all changes, select Undo or navigate to a new screen.
Using Map Features
Once the map is made you can specify certain zones as off-limits to the robot, designate certain areas as one-way traffic, restrict speed, or simply add annotations to make the map easier to read. See Using Zones for more information about creating zones on the map.
To add zones and endpoints, use the menus found on the Facility interface’s main menu.

Note
After adding, removing, or editing zones and endpoints, you must click the  button on the main toolbar before navigating away
from the page. Failing to click this button may result in data being lost.
button on the main toolbar before navigating away
from the page. Failing to click this button may result in data being lost.
Adding Endpoints
See also
See detailed documentation on creating endpoints for more information.
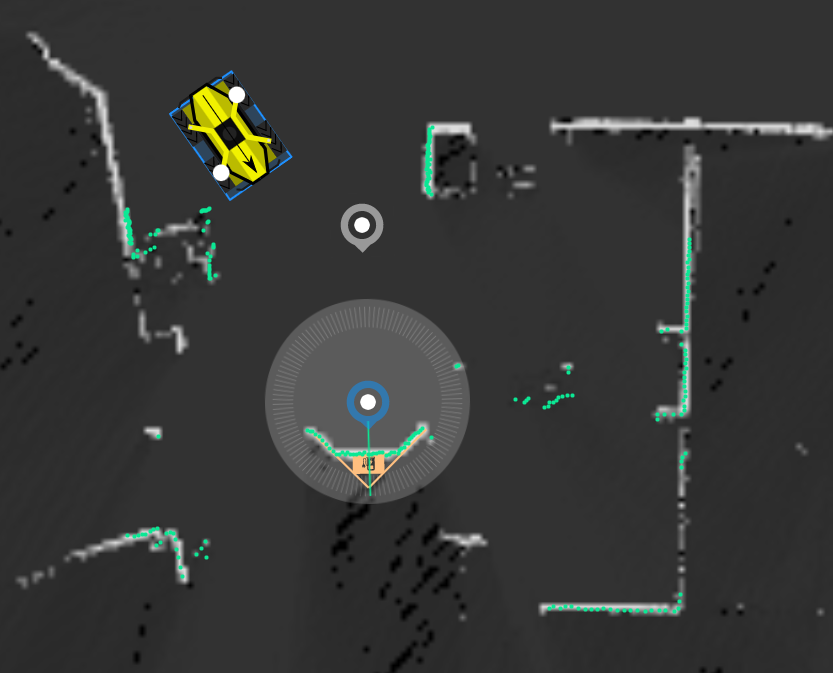
An endpoint is a physical location that sometimes includes a collection of tasks that define how a robot performs a workflow. To add an endpoint to the map:
From the Facility menu select Endpoints.
Select the appropriate type of endpoint from the list.
Select the desired location on the map where the endpoint will be created. An endpoint details pane will appear on the right side of the window. If desired, orient the endpoint using the orientation circle. Select and drag the middle of the orientation circle to move the endpoint to a different location on the map. Select the drag the edge of the orientation circle to rotate the endpoint.
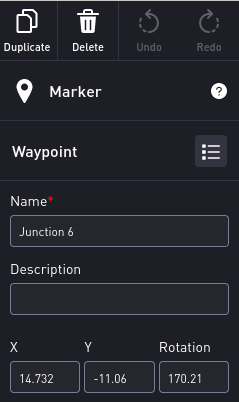
Enter a Name for the endpoint.
If desired, enter a Description.
The X and Y coordinates and Rotation (in degrees) of the endpoint will be pre-populated based on the placement of the endpoint. Use these fields to finely position the endpoint on the map.
Select Done to add the endpoint to the map.
Select Save to save the changes to the map. To cancel all changes, select Undo or navigate to a new screen.
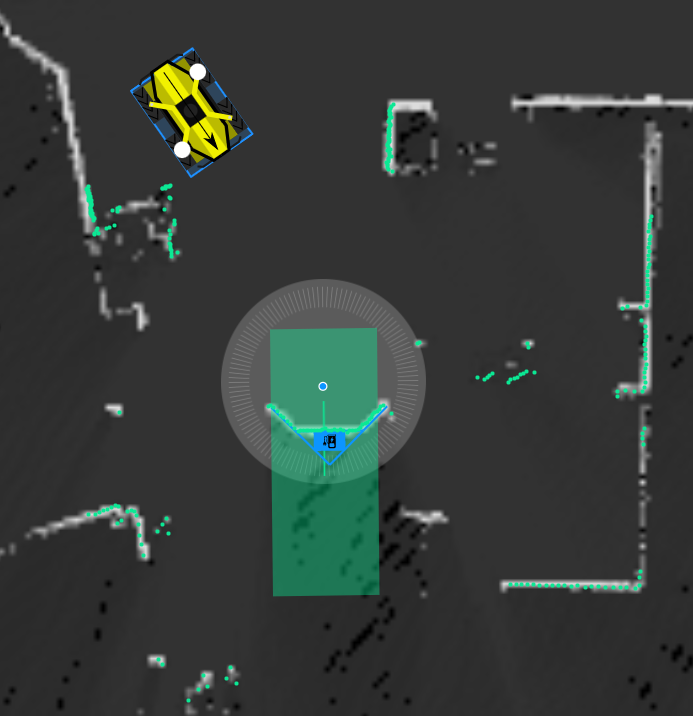
Using Zones
See also
See detailed documentation on using zones for more information.
Zones define specific areas where robots can travel and their behavior while within or near the zone such as maximum speed.
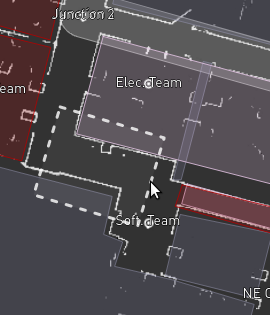
Zones are polygons with three or more points making up a closed shape. Zone placement isn’t restricted by walls or other solid objects on the map.
To add a new zone to the map:
Click the Map button on the main toolbar and select the desired type of zone from the menu.
Click and drag on the map to add a new zone. Initially the zone will be rectangular.
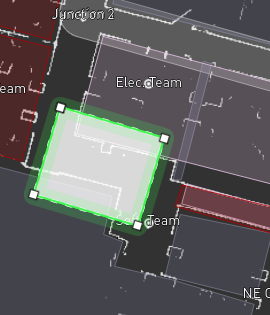
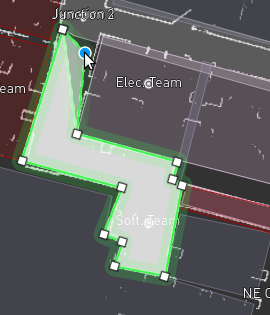
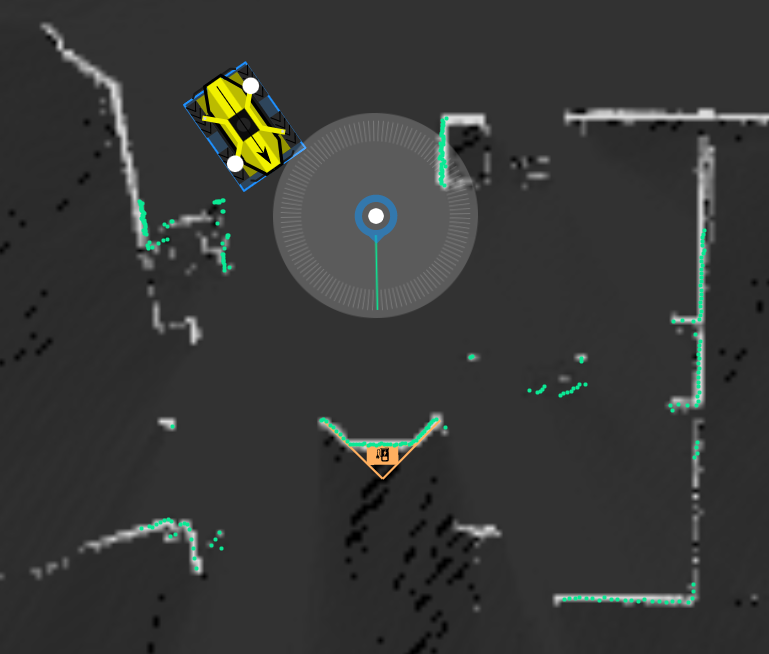
Update the zone shape as needed. You can add additional corners by clicking on a segment and dragging it; a new corner will appear under the mouse, allowing you to build more complex shapes. The following figures show the process of creating a new zone and editing its shape.
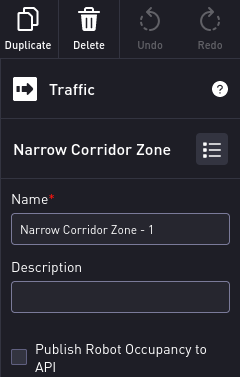
You can add further details about the zone using the configuration tools, such as those shown for the Narrow Corridor Zone in the following figure.
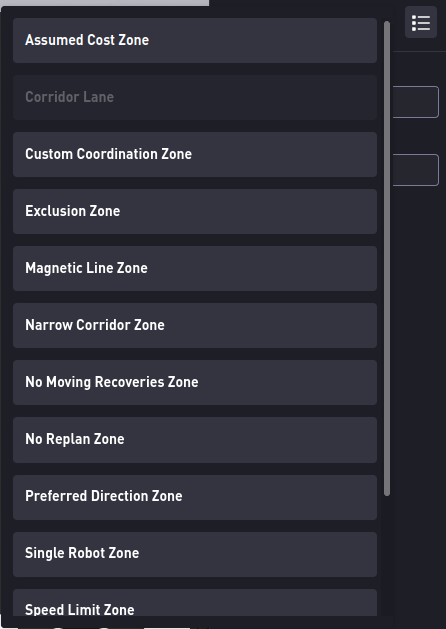
Clicking on the  will allow you to change the
type of zone, using the menu shown in the figure below.
When you have finished creating the zone select Done on the upper toolbar.
will allow you to change the
type of zone, using the menu shown in the figure below.
When you have finished creating the zone select Done on the upper toolbar.
Using Workflows
See also
See detailed documentation on creating workflows for more information.
Workflows use endpoints to have a robot perform work automatically. When a workflow is created, robots can execute them automatically when autonomy is active.
To create a workflow:
From the Facility menu select Endpoints.
Select A-B-C. The workflow details pane will appear on the right side of the window.
Enter a Name for the workflow.
Select Add Task to add a task to the workflow using endpoints that have been created already. The tasks available for selection are dependent on the endpoints that have been added to the map and their types.
Select the desired tasks type.
Select the desired endpoint at which the selected task will be performed.
Add additional tasks to the workflow as desired.
Select Done to add the workflow to the map.
Select Save to save the changes to the map.
To execute a workflow:
From the Drive menu select Workflows.
Select the desired workflow.
Select GO. The robot will attempt to execute the workflow. Select Stop at any time to pause execution of the workflow. Select Resume to continue the workflow.
Using Docking
Warning
Keep the area around the dock free of objects and people. There is no obstacle detection between pre-docking point and the dock; similarly, there is no obstacle detection during the undocking operation.
Docking is a feature for IndoorNav that requires the purchase of a dock target. Refer to Contact Us for information on how to contact the sales team to purchase a dock.
To include a dock in the workflow:
Mapping: Position the dock in its intended position, then proceed to map the area as usual, including the dock area. If the dock was not included fully in the original map, remap the dock area.
Placing Dock on the Map: Once the map is created, overlay the dock target onto the map as shown below by selecting “Charger Endpoint” from the “Endpoints” menu and adding the charger on the map such that it overlays the position from the mapping step.
Docking: Select the “Dock Endpoint” and add it to the map so that it is 2 metres away from the dock, positioned in the centre of the dock, and oriented to point to the centre of the dock as shown below. Then, update the desired workflow to make the “Dock Endpoint” the last endpoint of the mission.
Undocking: Add an “Undock Endpoint” at the position of the robot when docked as shown below. Then, update the desired workflow to make the “Undock Endpoint” the first endpoint of the mission.
For clarity, when creating a mission that begins and ends with the robot at the dock, use the Undock Endpoint as the first endpoint and the Dock Endpoint as the last one.
