Installing a Jetson Nano
Step 1: Open up Dingo
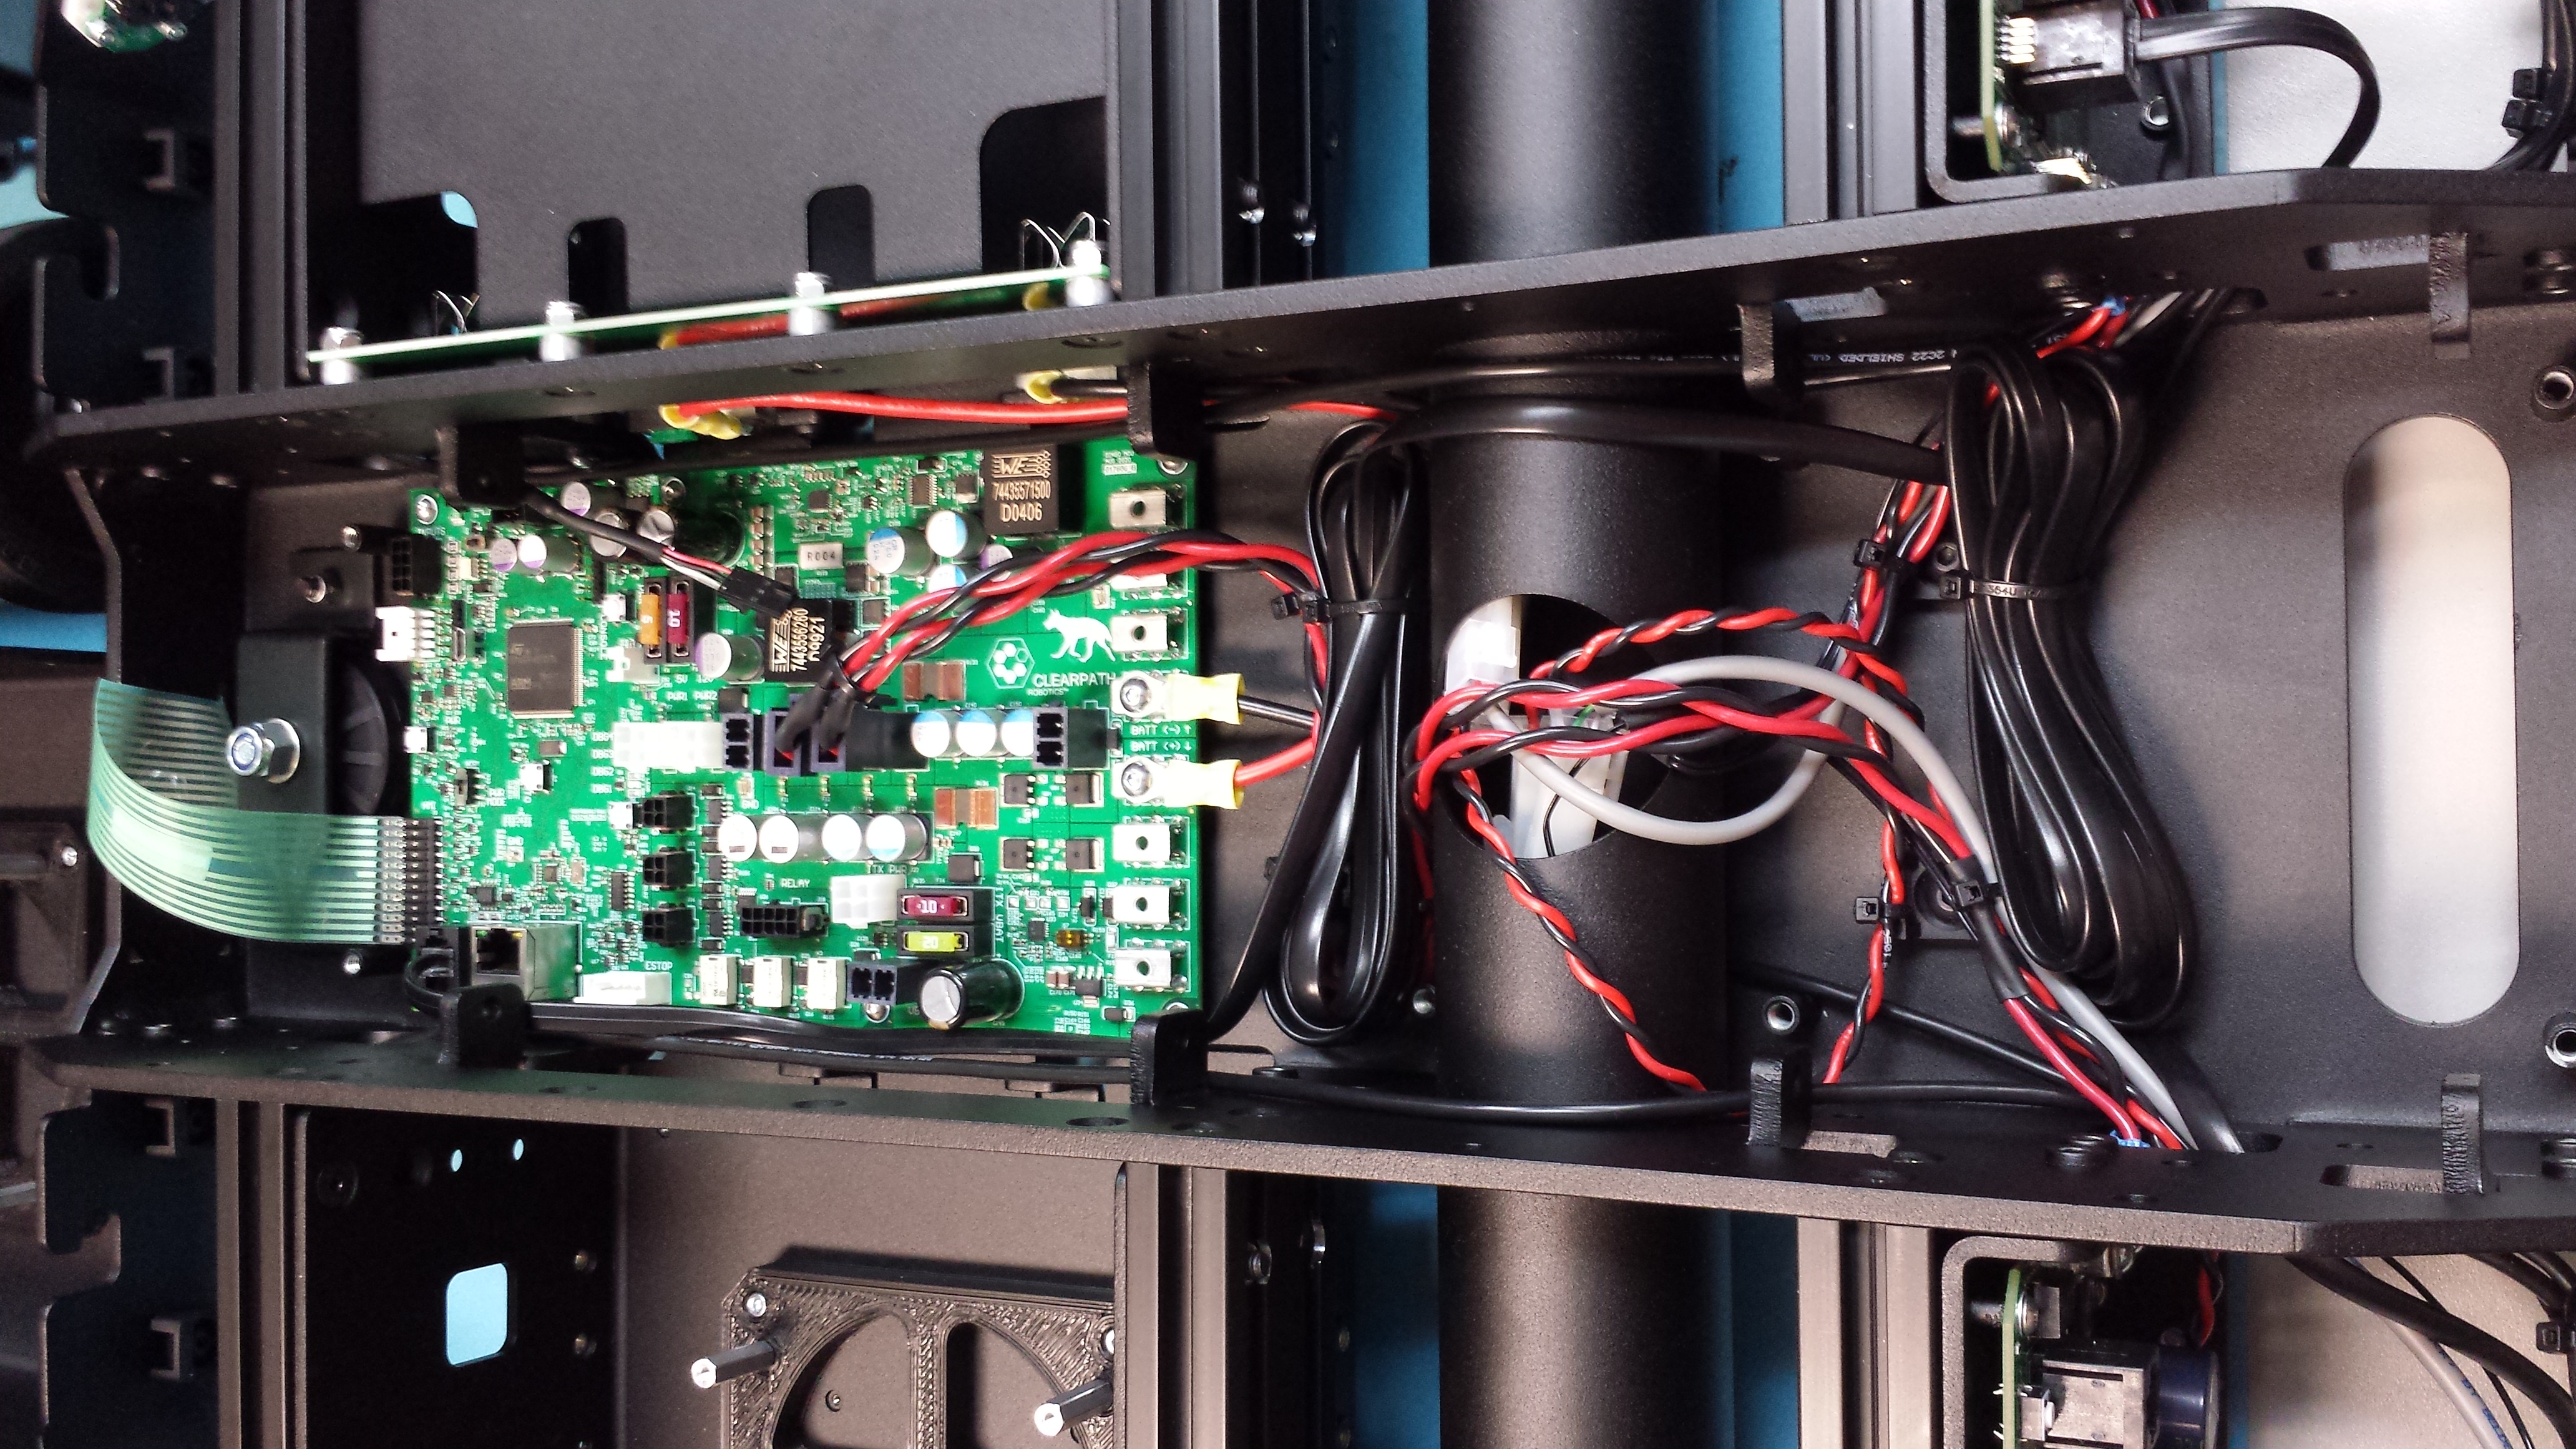
Start by removing Dingo’s side panels, yellow cover plates, and removing the center channel covers.

Step 2: Install the Nano
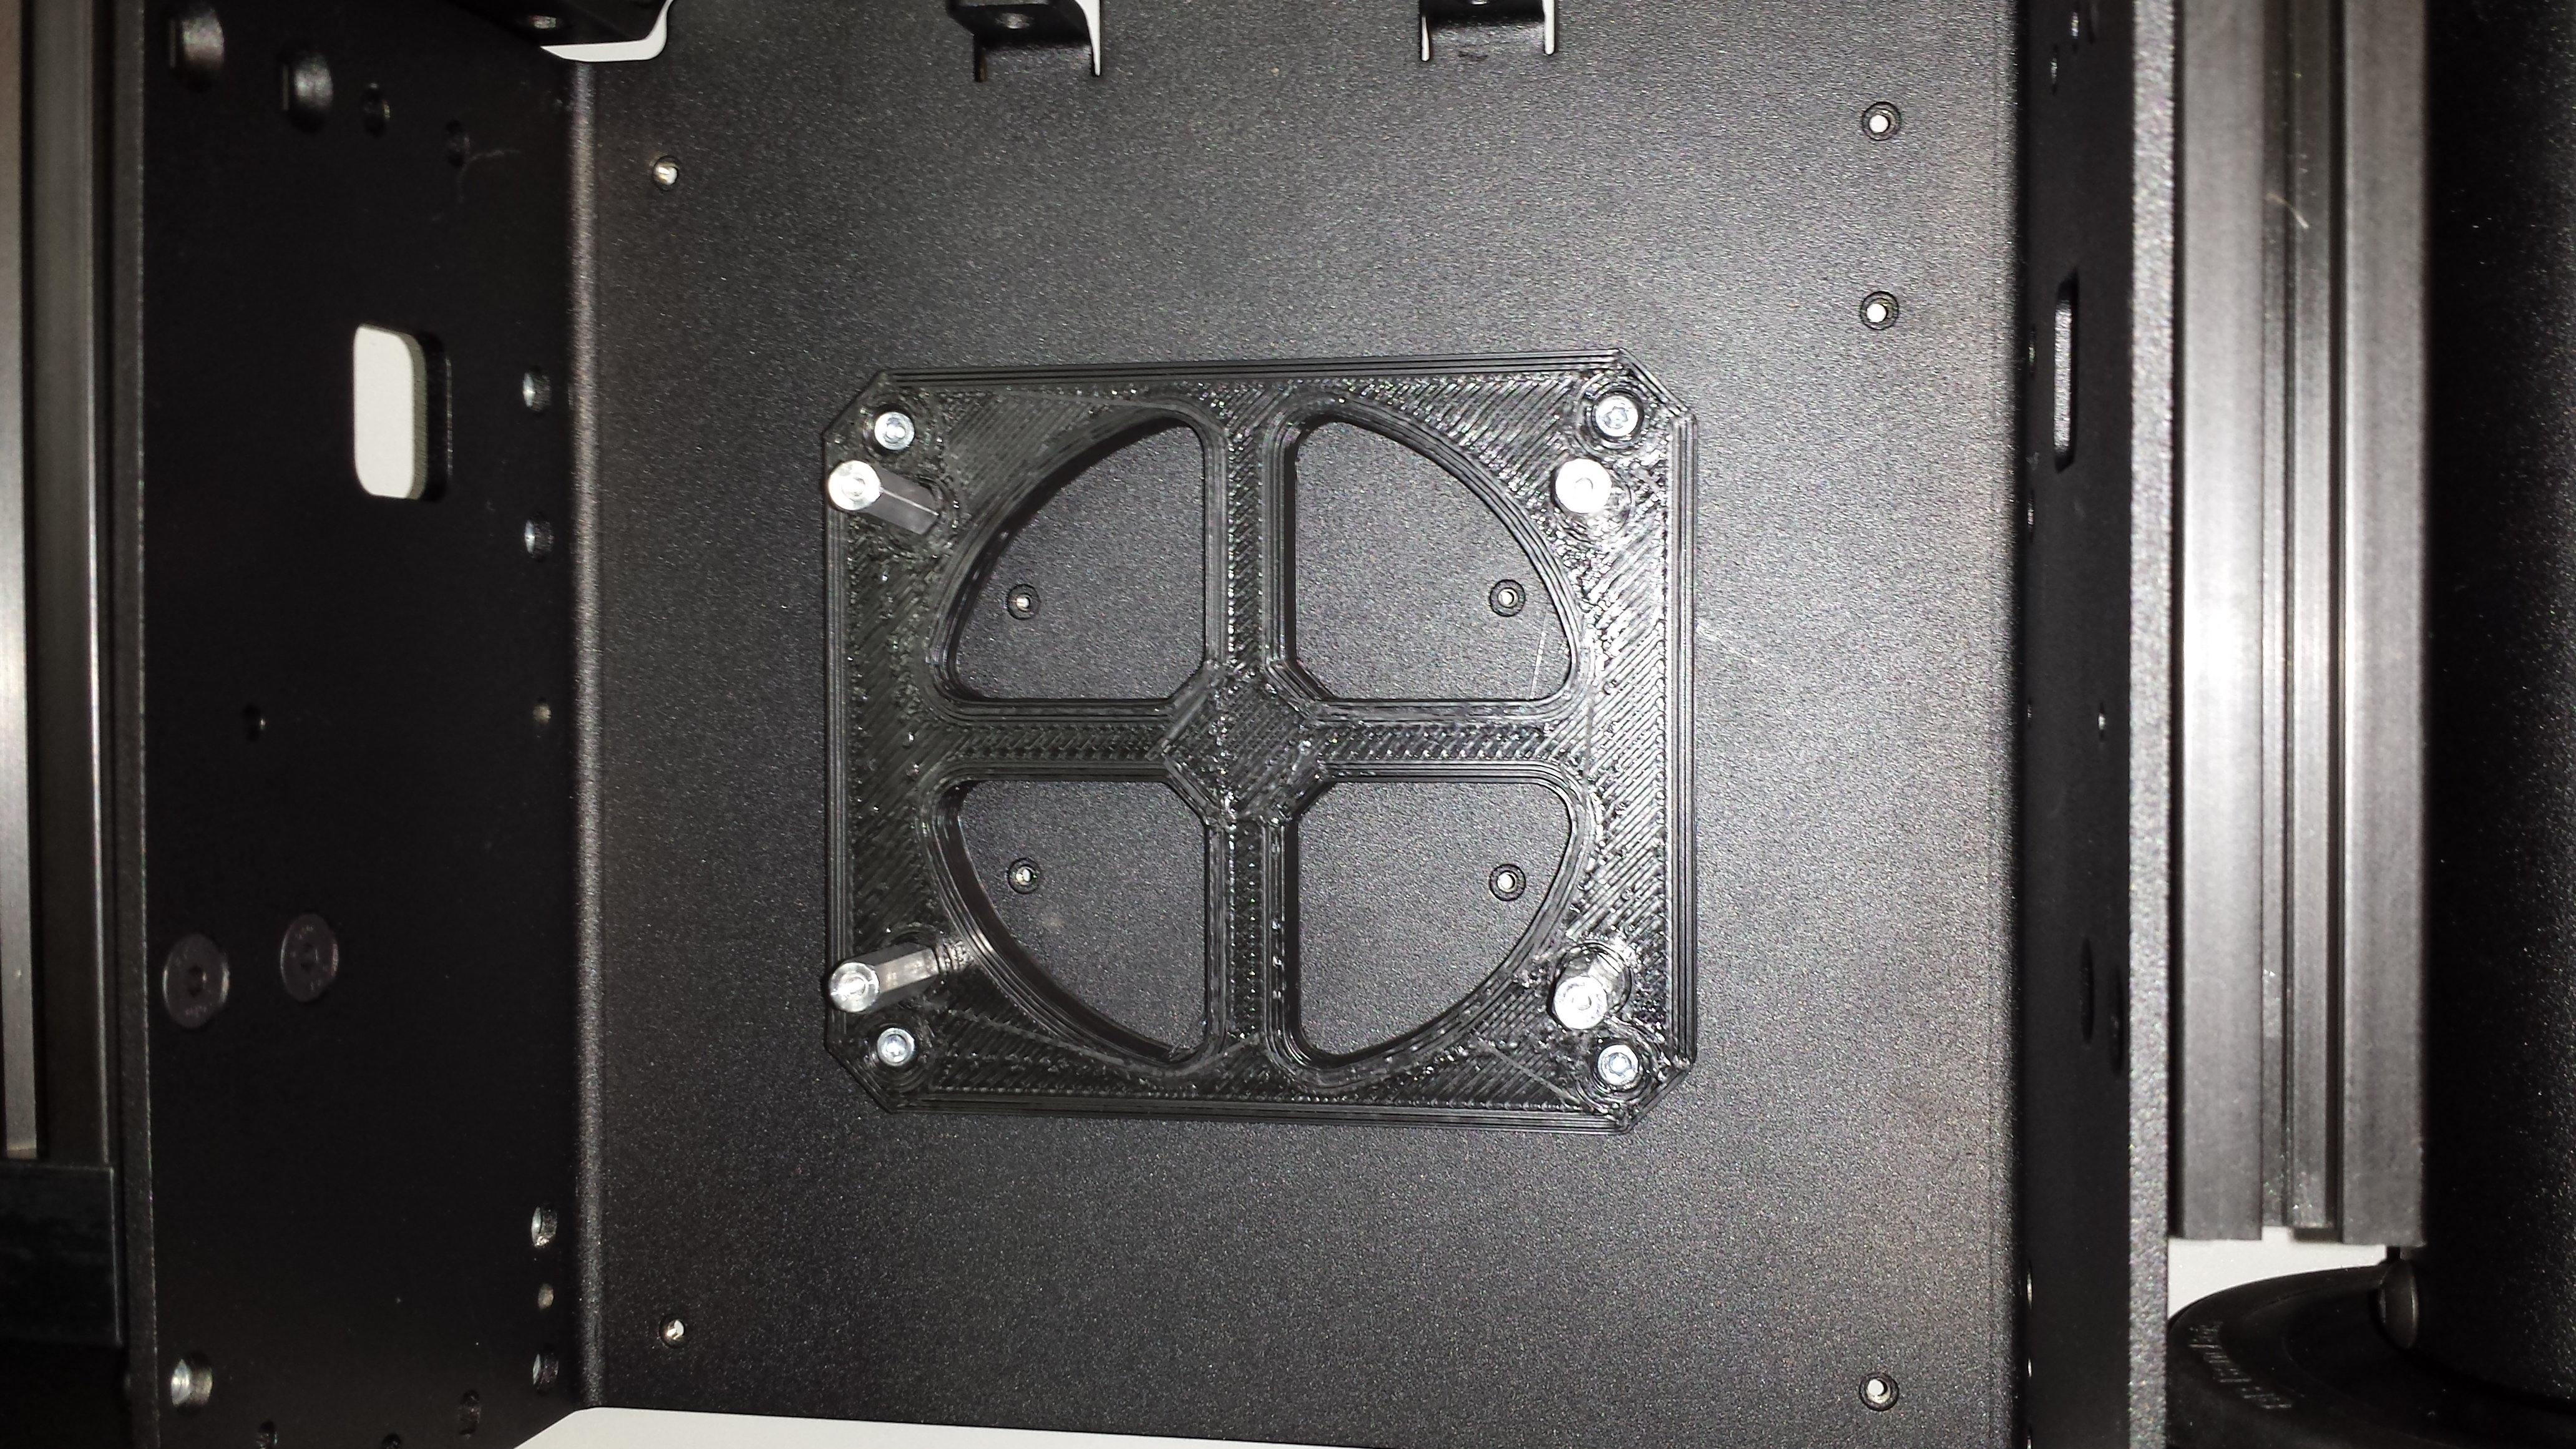
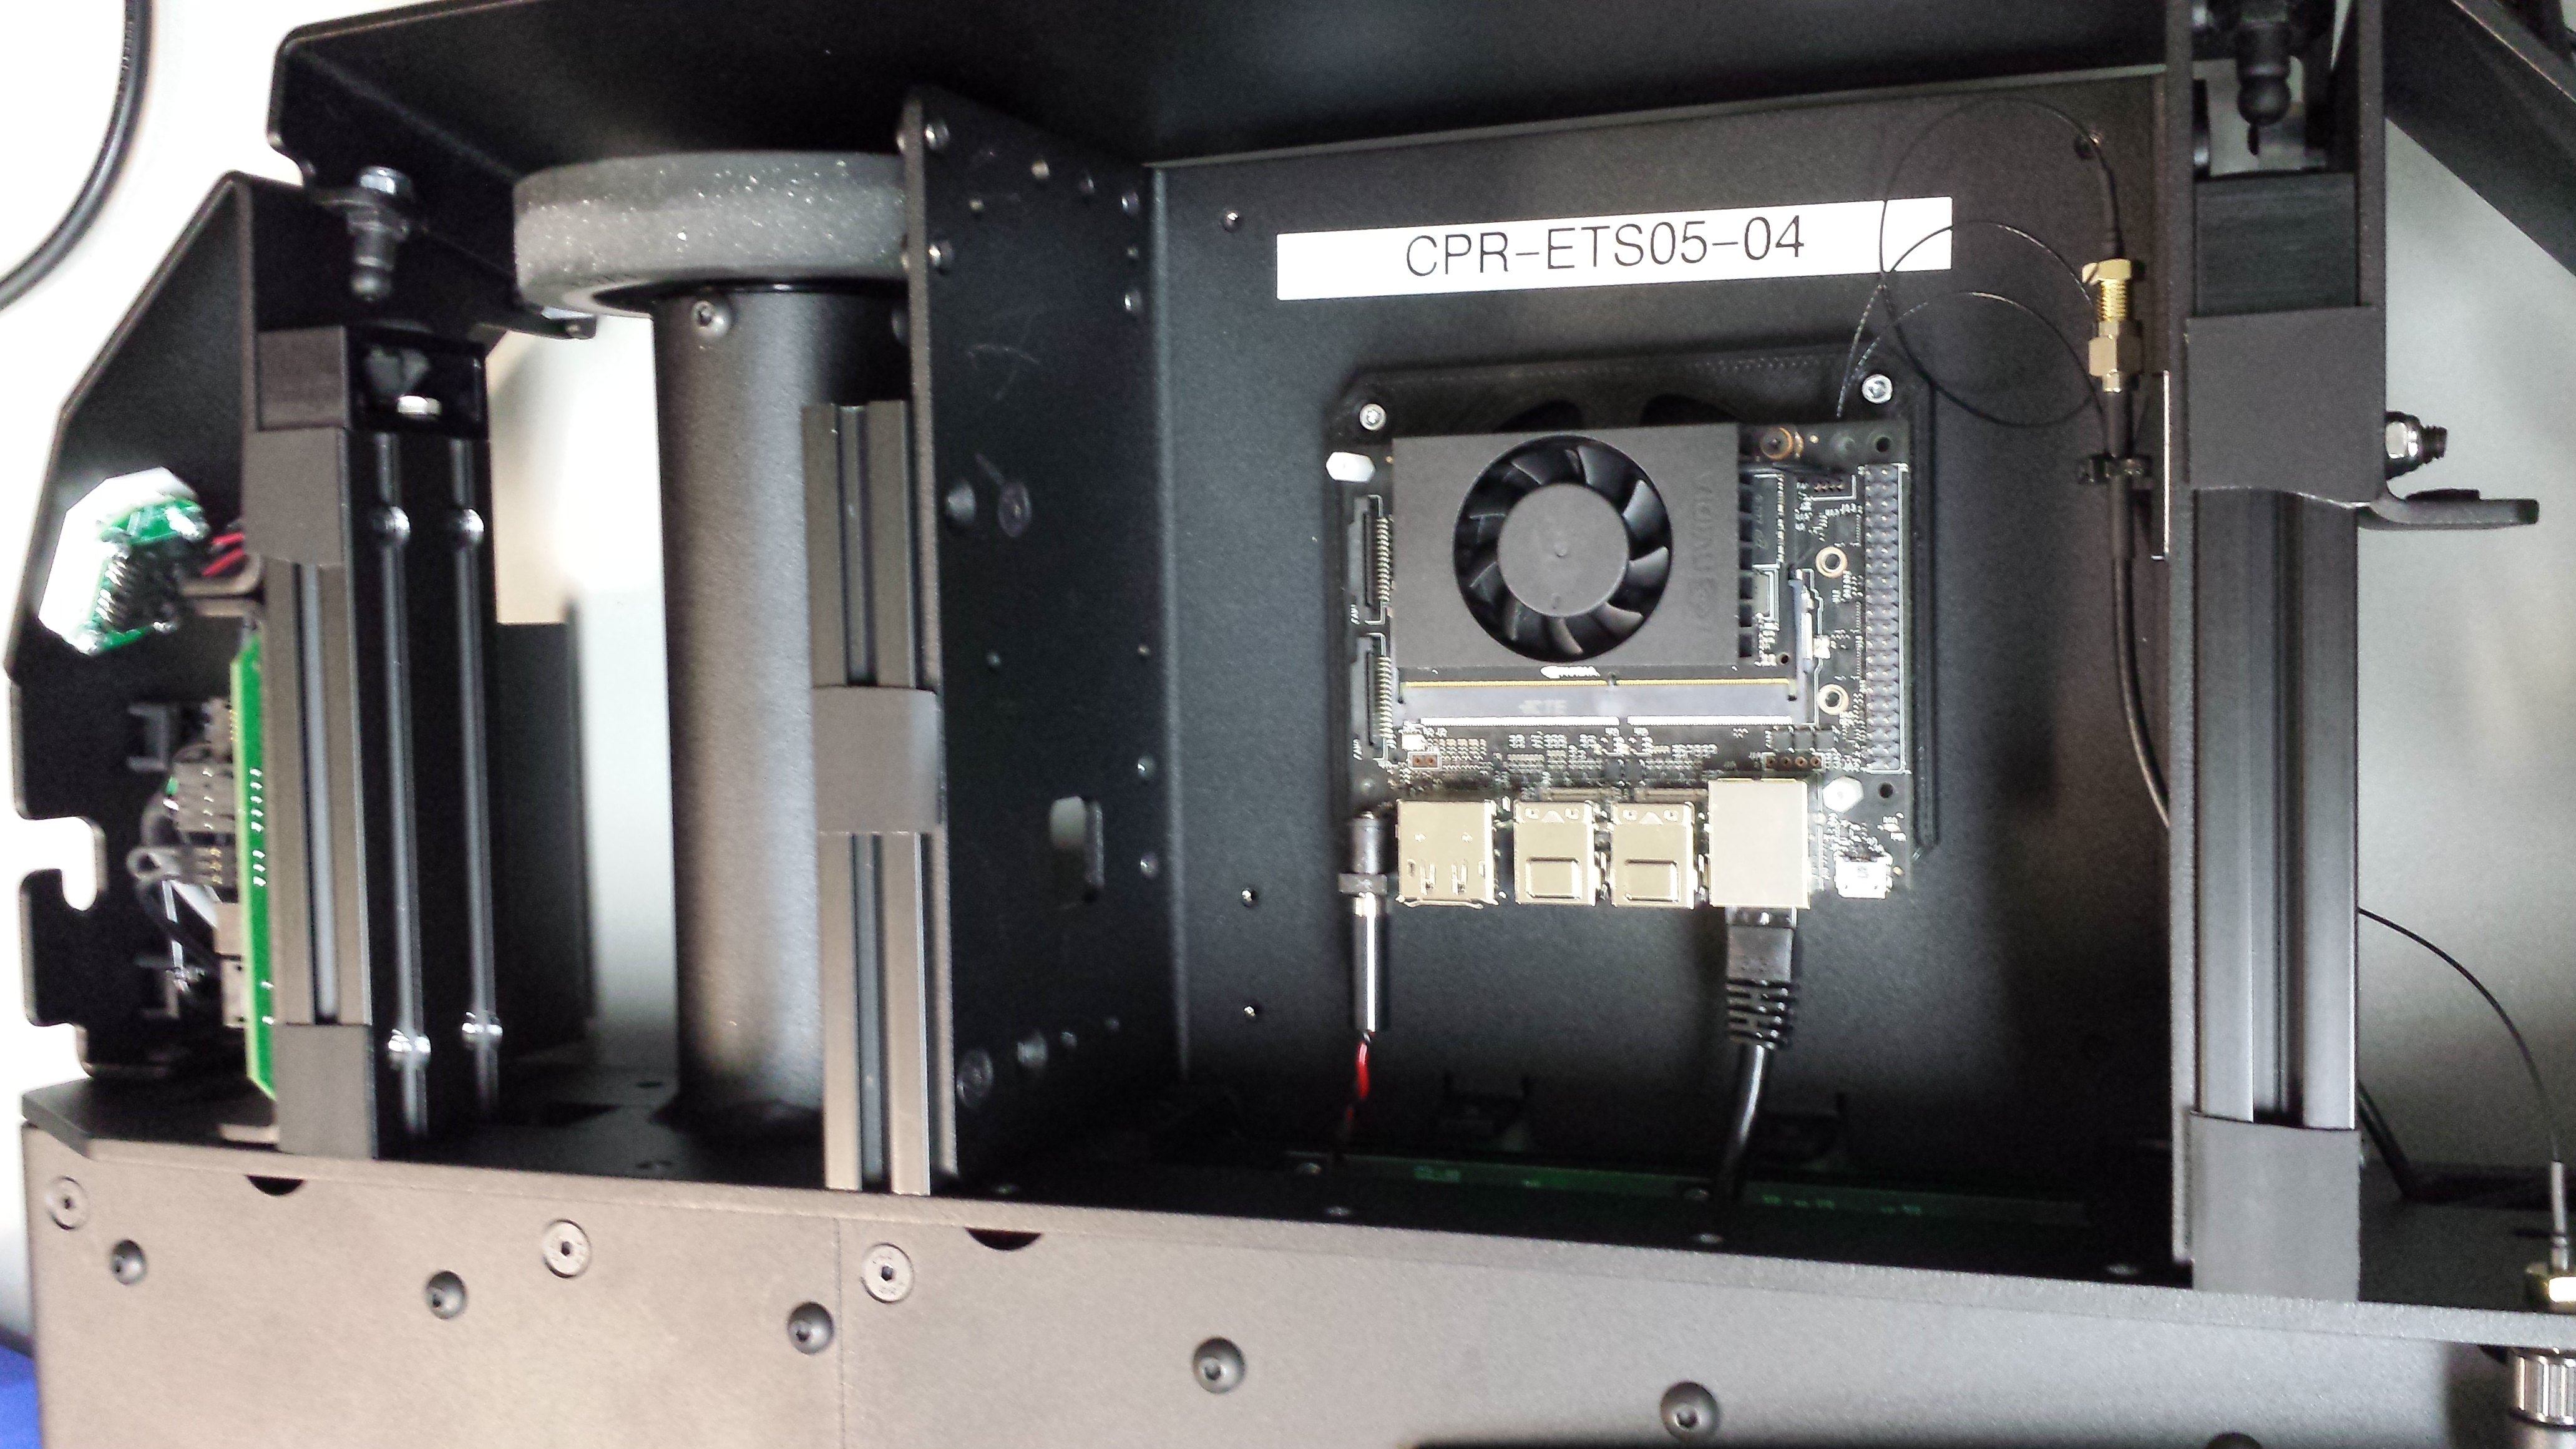
Dingo includes pre-threaded mounting holes for the Jetson Nano. We recommend using 20mm standoffs to raise the board.

Connect the Jetson’s power cable to the 5V output from Dingo’s MCU.

The ethernet port on the Nano will eventually need to be connected to the ethernet port of Dingo’s MCU. If you have a network switch installed you can connect the MCU and the Nano to the switch. Otherwise leave the MCU disconnected for now so that the Nano’s ethernet port can be used for downloading the software from the internet.
Step 3: Installing the Software
Download the latest version of the Nano SD Image Download the latest version of Balena Etcher

Use Etcher to flash the image onto your SD card
Once it is installed, connect the nano to a keyboard, monitor, and power supply. Ubuntu needs to be setup first. Agree to the Terms

Select your language.

Select your keyboard layout.

Select your locaiton.

Pick a hostname, username, and password for the machine.
Note
For compatibility with older versions of the Jetson Nano software, set the username and password to nvidia.
To standardize with other Clearpath Robotics products, set the username to administrator and the password to
clearpath.

Specify the size for the partition. The default size should fill the whole SD card. Make sure it matches the maximum possible size, unless you have other plans for that space.

It will install the remainder of the required default packages.

Once the OS has been written to the Nano you can follow the instructions in Software Setup to install Dingo’s ROS packages. Once that is done, continue to step 4:
Step 4: Controller Pairing
If you would like to pair a PS4 controller to drive Dingo, hold down the PS and Share buttons on the controller until
the light bar starts to flash. In a terminal on the Dingo, run bluetoothctl and then run the following commands:
agent on
scan on
< look for the MAC address of your controller; it will be identified by "Wireless Controller" or similar text >
scan off
pair <MAC ADDRESS>
trust <MAC ADDRESS>
connect <MAC ADDRESS>
< ctrl + d to exit >
Step 5: Connecting the MCU
Once all of the software is installed, make sure that Dingo’s MCU is connected to the ethernet port on the Nano. Because the Nano only has a single ethernet port you may find it convenient to install a network switch so that any ethernet-based sensors can be easily connected. Alternatively, one or more USB to Ethernet adapters may be used to add additiona; ethernet ports. Make sure to configure the network so that any additional USB dongles are part of the network bridge.