Spot ROS Driver Usage
Verify the URDF
To verify that the spot_viz and spot_description packages are sourced properly, you can run
roslaunch spot_viz view_model.launch
This will load RVIZ with the robot description visible. It should also show any additions you may have added to the robot’s URDF
Configure Your Networking
There are multiple ways that you can setup networking on your ROS computer. This guide will cover two different common ways to do this
/etc/network/interfaces
The first way is by editing /etc/network/interfaces. Below is a section that will create a bridge between all of your network ports and assign a static address of 192.168.131.1. This is a common setup for Clearpath robots. Ensure to put your ROS computer into the same subnet that you set for the Spot platform.
auto br0

iface br0 inet static
  bridge_ports regex (eth.*)|(en.*)
  address 192.168.131.1
  netmask 255.255.255.0
  bridge_maxwait 0
Network Manager
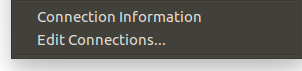
If you are using Ubuntu and it has a desktop environment, it will likely have Network Manager installed. To create a new network connection, click the networking icon in the top right if your screen and choose Edit Connections.
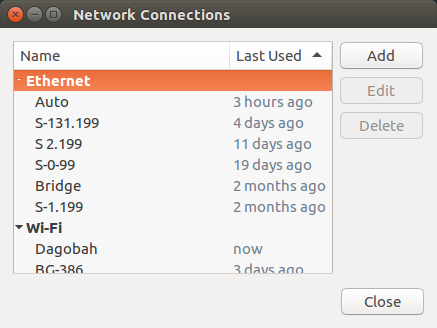
You will see all of the other network connections you’ve setup in the past. Click Add on the right to create a new network connection for the robot.
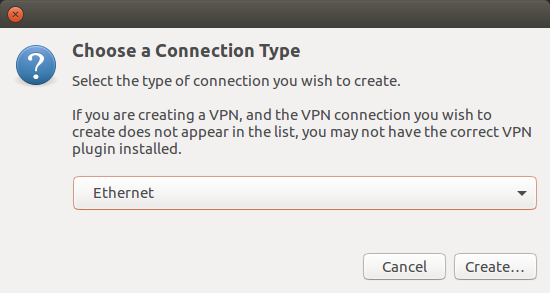
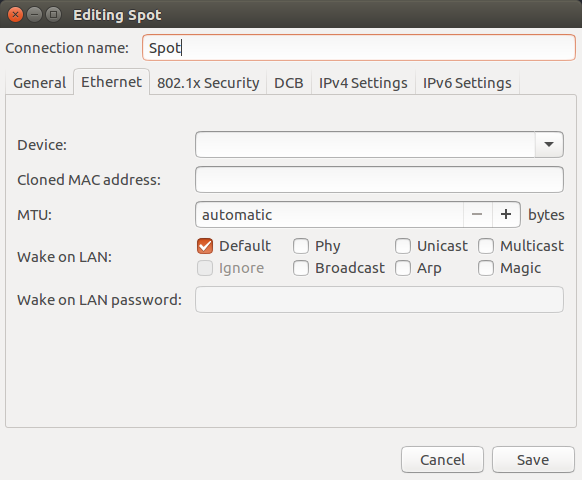
Select Ethernet as the connection type since we are connecting directly to the platform.
Give the connection a name.
Set the conneciton method to Manual. This will give it a static address.
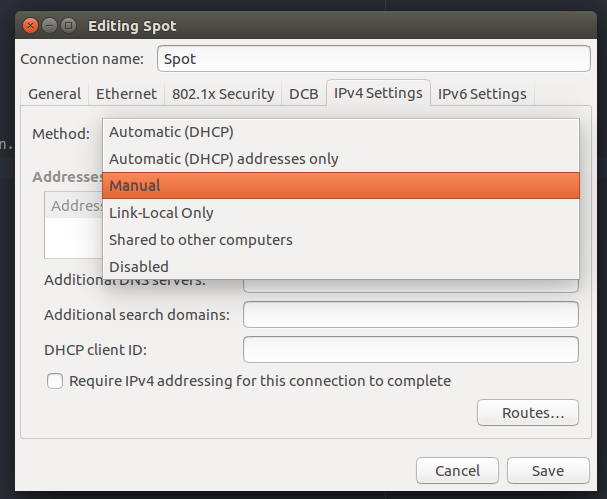
Under the IPV4 config, choose a static address for the ROS computer. Ensure to put your ROS computer into the same subnet that you set for the Spot platform.

Running the Driver
roslaunch spot_driver driver.launch
When launching, there are some options you may need to configure for your setup. They are:
Argument |
Default |
Description |
|---|---|---|
username |
dummyusername |
The username of the Spot user to authenticate using |
password |
dummypassword |
The password of the Spot user to authenticate using |
hostname |
192.168.131.3 |
The IP address of the Spot robot |
View the Robot
Once the robot is connected, you should be able to visualize its odometry, joint positions, camera streams, etc. using RVIZ. To view these streams, run
roslaunch spot_viz view_robot.launch
Remember that you will need to source your workspace before running this command.
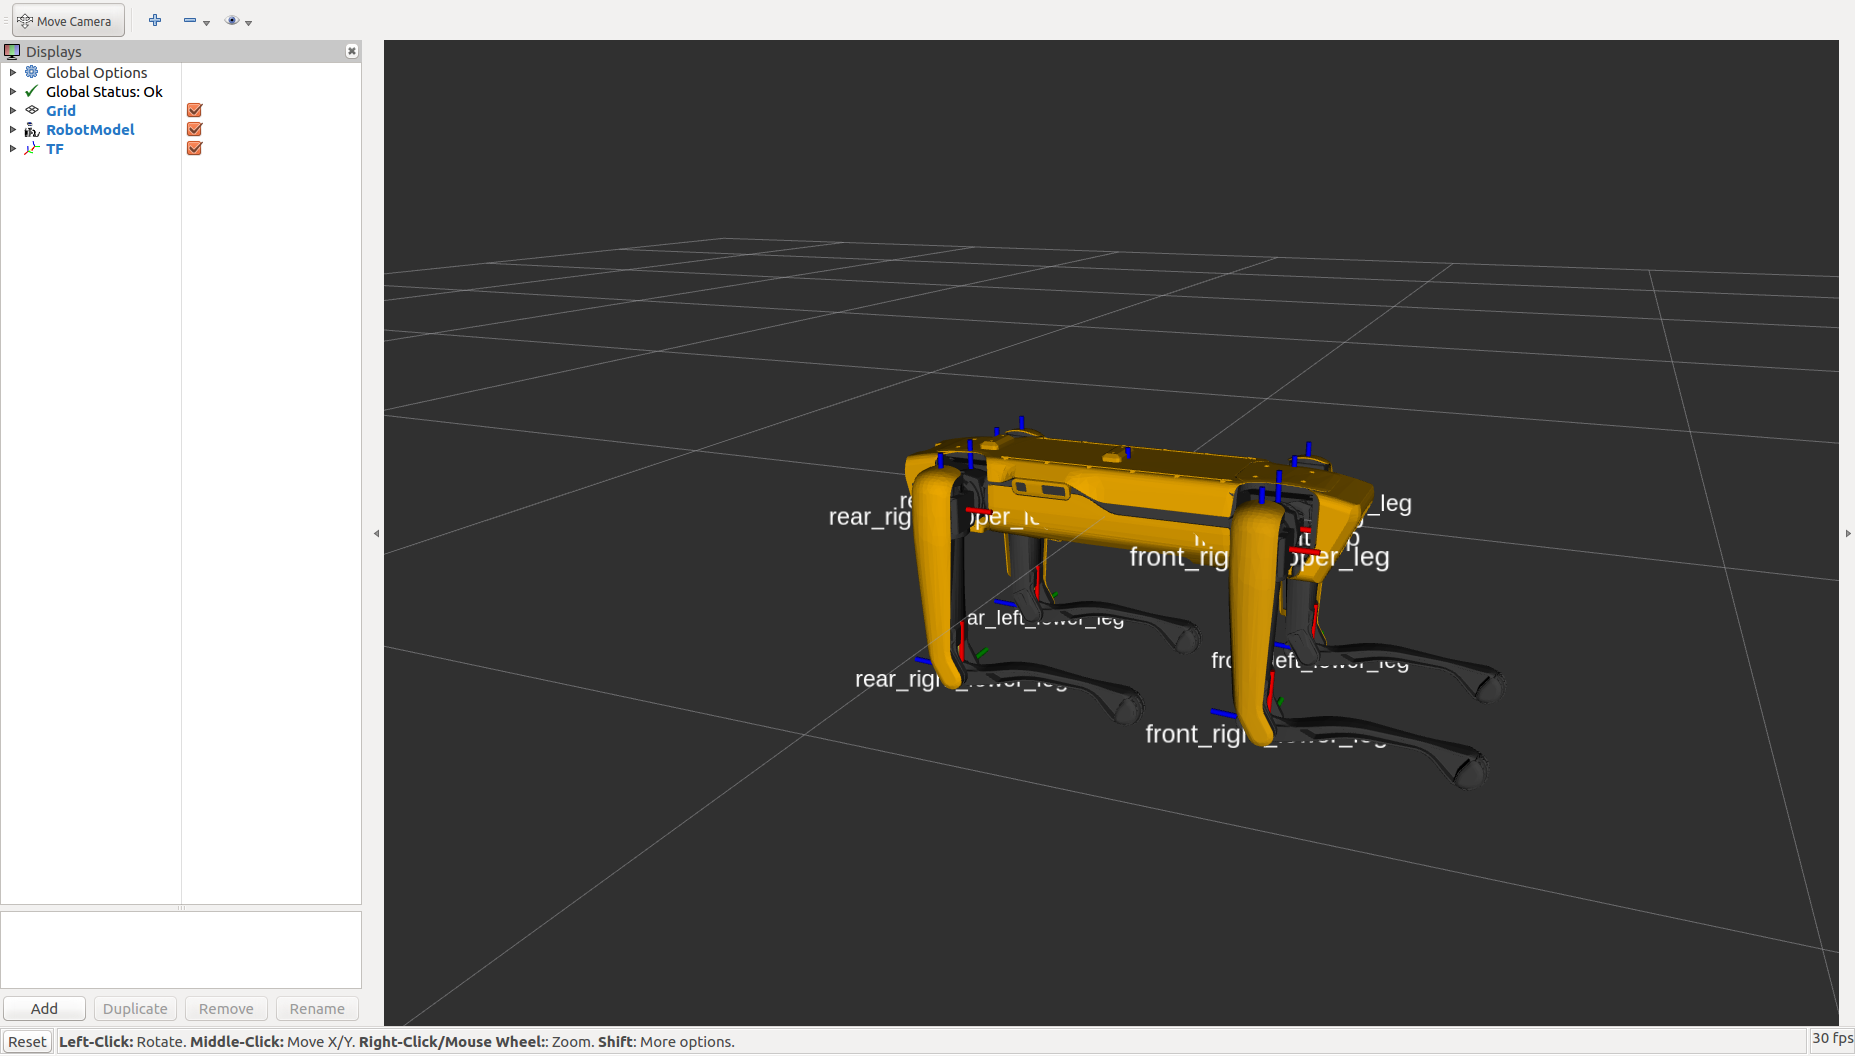
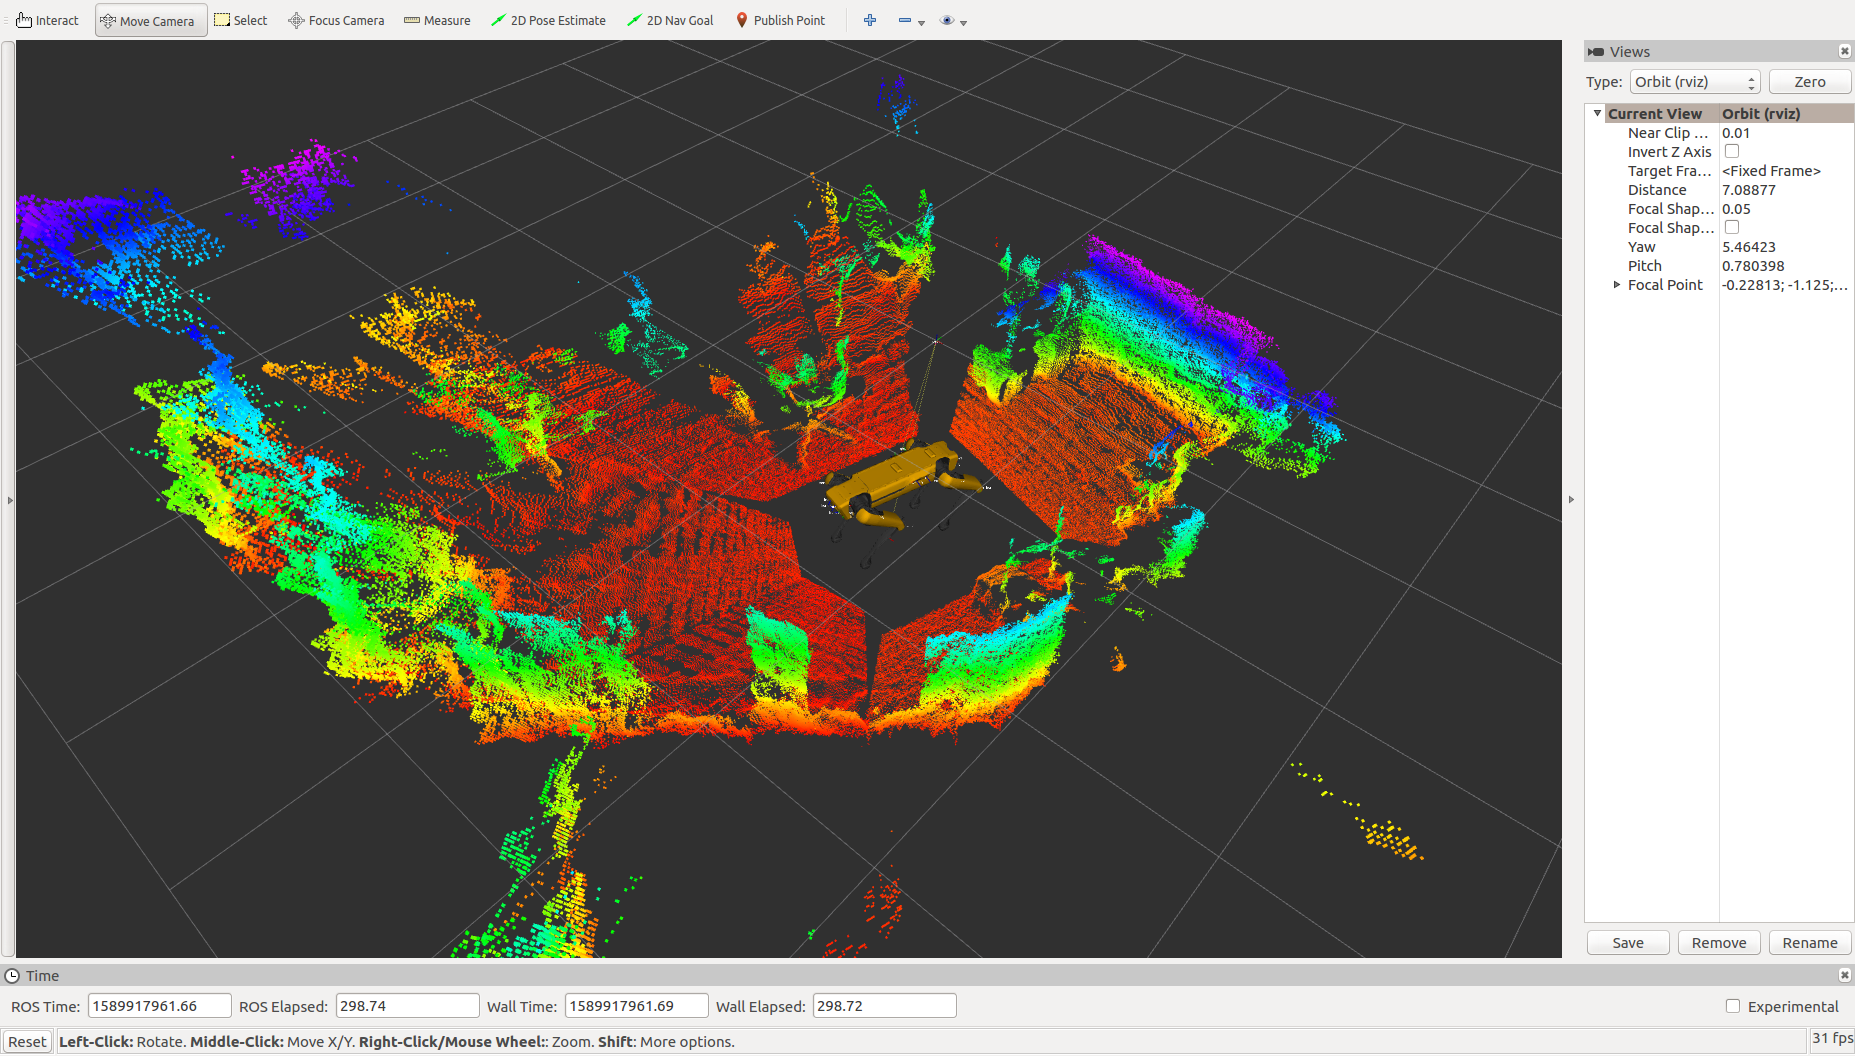
Once RVIZ is loaded, you should see something similar to this.
Taking Control of the Robot
To control Spot, you need to maintain control of the eStop and body lease, power on the drive motors, and command the robot to stand.
Body and eStop Control
A body lease gives the holder the ability to command the spot to make actions in the world. The eStop gives the robot a way to guarantee that the commanding system is maintaining contact with the robot. There are two ways to claim a body lease and eStop using this driver.
Automatically when the driver starts by enabling the
auto_claimvariableBy calling the claim service after the driver is started
You cannot claim a lease on the robot if something else already has a lease. This is for security reasons. Check the status/leases topic for information on current leases.
Enable Motor Power
Motor power needs to be enabled once you have a Lease on the body. This can be done in two ways:
Automatically when the driver starts by enabling the
auto_power_onvariableBy calling the power_on service after the driver is started
Stand the Robot Up
Once the motors are powered, stand the robot up so it is able to move through the world. This can be done in two ways:
Automatically when the driver starts by enabling the
auto_standvariableBy calling the stand service after the driver is started
Controling the Velocity
Warning
Spot will attempt to avoid any obstacles it detects with its cameras, but no vision or actuation system is perfect. Make sure to only move the robot in a safe area and in a controlled manner.
ROS Topics
To control Spot, you can send a Twist ROS message to command a velocity. To test this, open a new terminal and source your ROS installation. Then, run this command in your terminal
rostopic pub /spot/cmd_vel geometry_msgs/Twist "linear:
  x: 0.0
  y: 0.0
  z: 0.0
angular:
  x: 0.0
  y: 0.0
  z: 0.3" -r 10
That command will have spot rotate on the spot at 0.3 radians/second. Note the -r at the end of the command. That has ROS resend the message over again. If you don’t resend the message, the driver will assume a timeout and stop commanding motion of the robot.
Interactive Marker
Inside of RVIZ, grab the red arrow that is around Spot’s body and pull it forward or backwards to have Spot walk. If you rotate the blue circle around the body, Spot will turn on the spot. This is a very simple, but inaccurate to move Spot
Controling the Body
The angle of the body relative to the feet is also controllable through a ROS topic, but there is no interactive marker yet.
To control the body position through a terminal, send the following command:
rostopic pub /spot/body_pose geometry_msgs/Pose "position:
  x: 0.0
  y: 0.0
  z: 0.0
orientation:
  x: 0.0
  y: 0.0
  z: 0.0
  w: 1.0"
Note that the -r is not needed for this command. This sets the position the body should be in until changed.
Cameras and Depth Clouds
Spot is equipped 5 RGB and depth-sensing cameras: 2 on the front, one on each side, and one in the rear. All of these cameras publish at approximately 10Hz. The cameras are grayscale.
Note that the front cameras are mounted sideways, so they have a narrower horizontal FoV, but a larger vertical one. The camera data likewise rotated anticlockwise by 90 degrees.
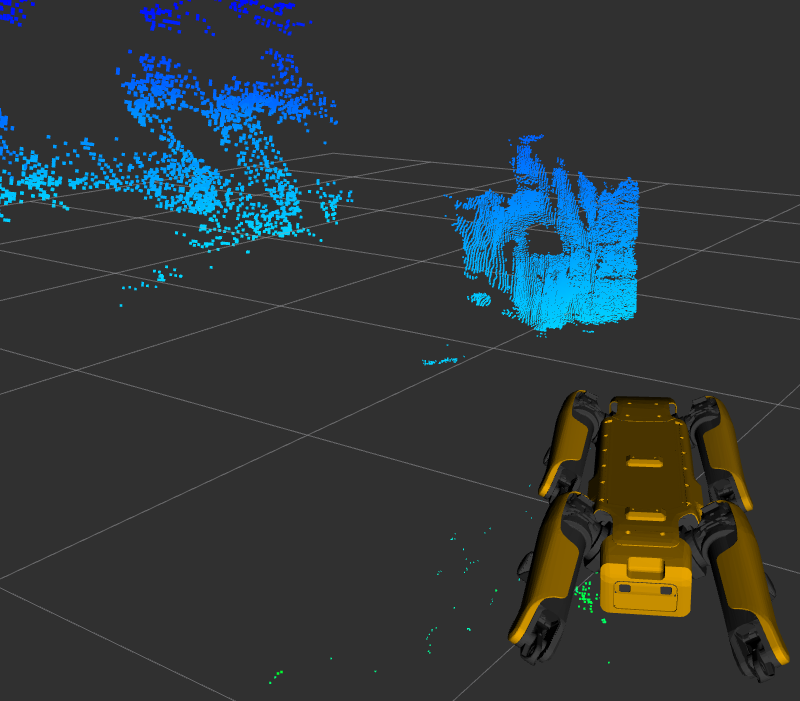
The frontleft camera and depth topics are from the camera physically located on the front-left of the robot.
This camera is pointed to the robot’s right, so the depth cloud will appear in front of the robot’s right shoulder:

Similarly the frontright camera and depth topics are from the camera physically located on the front-right of the
robot. This camera points to the robot’s left, so the depth cloud will appear in front of the robot’s left shoulder:
The complete list of depth and camera topics is below:
Topic |
Type |
Comments |
|---|---|---|
camera/frontleft/camera/image |
Image |
Data from the front-left camera, which points to the right. Image is rotated 90 degrees anticlockwise. |
camera/frontright/camera/image |
Image |
Data from the front-right camera, which points to the left. Image is rotated 90 degrees anticlockwise. |
camera/left/camera/image |
Image |
|
camera/right/camera/image |
Image |
|
camera/back/camera/image |
Image |
|
depth/frontleft/camera/image |
Image |
Data from the front-left camera, which points to the right. |
depth/frontright/camera/image |
Image |
Data from the front-right camera, which points to the left. |
depth/left/camera/image |
Image |
|
depth/right/camera/image |
Image |
|
depth/back/camera/image |
Image |
Monitoring the Platform
Topic |
Type |
Description |
|---|---|---|
status/metrics |
Metrics |
General metrics for the system like distance walked |
status/leases |
LeaseArray |
A list of what leases are held on the system |
odometry/twist |
TwistWithCovarianceStamped |
The estimated ofometry of the platform |
status/feet |
FootStateArray |
The status and position of each foot |
status/estop |
EStopStateArray |
The status of the eStop system |
status/wifi |
WiFiState |
Status of the wifi system |
status/power_state |
PowerState |
General power information |
status/battery_states |
BatteryStateArray |
Information for the battery and all cells in the system |
status/behavior_faults |
BehaviorFaultState |
A listing of behavior faults in the system |
status/system_faults |
SystemFaultState |
A listing of system faults in the system |
status/feedback |
Feedback |
Feedback from the Spot robot |
Troubleshooting
These instructions are a minimum subset of instructions to get this driver working and do not contain all necessary debugging steps. Please refer to the Spot SDK Quickstart for more detailed debugging steps.